The BAi mirror embroidery machine is a game-changer for caps, creating perfectly symmetrical left and right designs with incredible efficiency. But that iconic symmetry starts long before the needle hits the fabric. Simply flipping a regular digitized file will lead to stitching nightmares. To truly unlock the machine’s potential, you must learn how to properly Convert Logo for BAi Mirror Embroidery Machine. This isn’t just about getting a file the machine can read; it’s about engineering a design that sews flawlessly in its unique mirrored format.
This guide will walk you through the specialized process, from artwork preparation to the critical digitizing adjustments that ensure professional results.
Understanding the BAi Mirror Machine’s Unique Demand
First, let’s clarify what makes this different. A BAi mirror machine has two sewing heads that work simultaneously on opposite sides of a cap’s front panels. It uses a single, specially formatted design file that contains the instructions for both the left and right sides. The machine automatically mirrors the design for the second head.
The core challenge is this: embroidery is not perfectly symmetrical in its execution. Stitches have a direction, and fabric behaves differently under the stress of stitching from one angle versus its mirror image. If you digitize a design for standard, single-head embroidery and simply let the machine mirror it, you risk facing alignment issues, inconsistent fabric pull, and a final product where the two sides look different. Your goal is to create a file that anticipates and corrects for this.
Step 1: Preparing Your Artwork for Mirroring
The foundation of a perfect mirrored embroidery is perfect artwork. This stage is non-negotiable.
-
Start with a Vector File: Always begin with a clean, scalable vector file (AI, EPS, PDF). This gives you crisp lines and easy editing capabilities. A blurry JPG will only magnify problems.
-
Audit for True Symmetry: Examine your logo critically. Is it truly symmetrical? Many logos appear balanced but have subtle asymmetries in line weights, spacing, or detail placement. You must decide: will you strictly mirror the existing design, or will you adapt it to create perfect symmetry for the cap? For branding consistency, strict mirroring is often required, even with inherent asymmetries.
-
Create the Mirror Canvas: In your design software (like Adobe Illustrator or the free Inkscape), set up your workspace.
-
Create a central vertical guideline. This is your axis of symmetry.
-
Place your single logo artwork to one side of this line (e.g., the right side). This will be your “master” side.
-
Duplicate the logo, flip it horizontally, and align it perfectly on the opposite side of the guideline. You should now have a perfectly mirrored pair with a clear gap between them.
-
-
Define the “Common Zone”: This is a crucial BAi concept. The common zone is the central area where the two mirrored designs meet or come very close (like the center seam of a cap). Some machine setups require a specific minimum gap (e.g., 2mm) between the two designs in this zone to prevent needle collisions. Consult your machine’s manual. Your artwork must respect this spacing.
Step 2: The Digitizing Process for Mirror Embroidery
This is where specialized knowledge is applied. Using digitizing software (like Wilcom Hatch or Embrid), you will digitize the single “master” side of the design with mirroring in mind.
Critical Digitizing Adjustments:
-
Digitize One Side Only: Import your artwork file, but focus only on digitizing the logo on one side of the center guideline. You are creating the blueprint for the first head.
-
Mind the Stitch Direction on Curves: This is a pro tip. On curved elements (like the arc of a letter “C”), the stitch direction (the angle of satin stitches or fill stitches) will be mirrored. If you digitize a curve with stitches flowing in a clockwise direction, the mirrored side will flow counterclockwise. This can create a subtle visual difference in light reflection. For critical elements, you may need to choose a neutral stitch angle that looks consistent when flipped.
-
Optimize the Stitch Sequence (Start Point): The starting point of your design is crucial. Plan a logical, clean start point that is away from the common zone. This starting point will also be mirrored. A messy start sequence will be duplicated on both sides.
-
Account for Fabric Pull: Anticipate that the mirrored design will pull the cap fabric in opposite, symmetrical directions. Your digitizing must be balanced—using appropriate underlay and pull compensation—to ensure the tension and registration are identical on both sides. Consistent density is key.
Step 3: File Configuration & Export for the BAi System
You have digitized one perfect side. Now, you must configure it for the BAi machine’s software.
-
Use the BAi Software Tools: Within the BAi machine’s operating software (or compatible digitizing software with BAi output), you will import your single-side digitized file.
-
Apply the Mirror Function: Use the software’s dedicated mirroring function. This correctly duplicates and flips your digitized stitch data to create the second head’s path, ensuring it is treated as a single, synchronized job.
-
Set the Common Zone Parameters: Input the required common zone gap as per your machine setup. The software will ensure the two design halves are positioned correctly.
-
Export the Correct Format: The BAi machine typically uses a proprietary file format (often with a .emb or other specific extension) that bundles the mirrored data. The key is to use the software’s export or “save for BAi mirror” function, not just a standard .DST or .PES. Consult your machine’s manual for the exact format (e.g., BAI, DAT, or a specific PES variant for BAi).
Step 4: The Critical Test Sew-Out
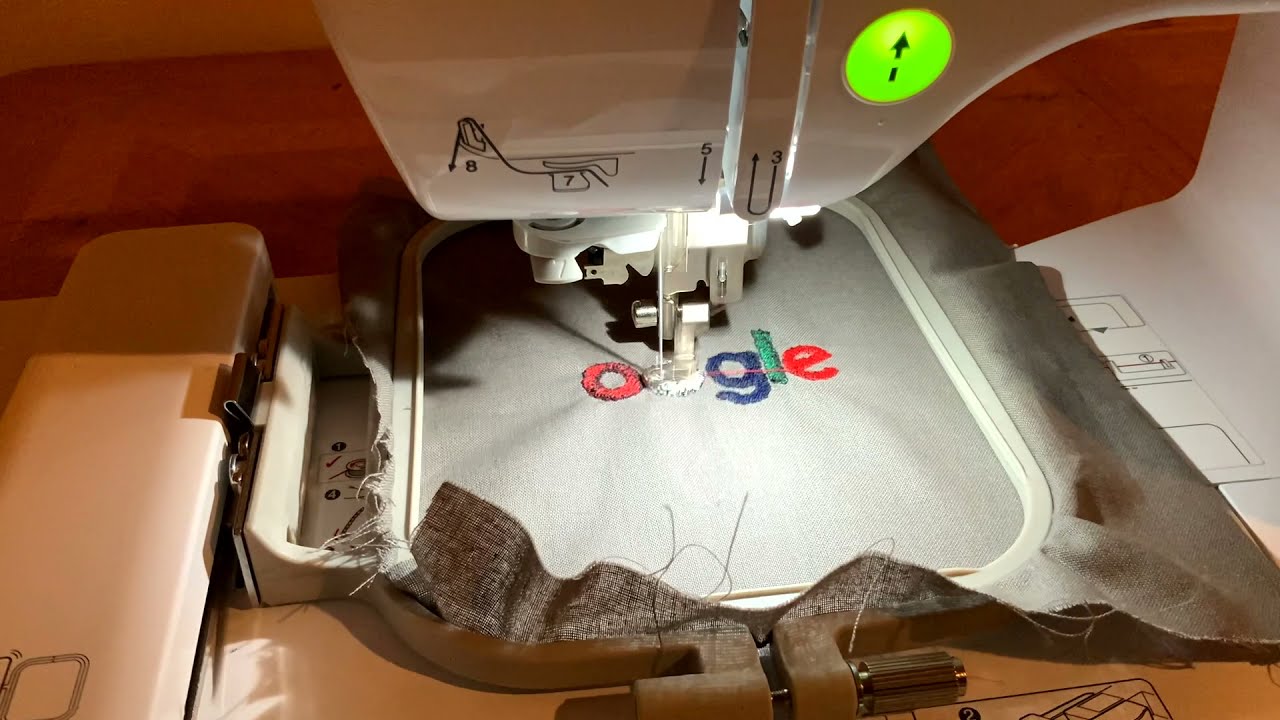
Never skip this step. A test sew-out on a spare cap is the only way to validate your work.
-
Hopping a Real Cap: Load a cap frame and run the file.
-
Check for Symmetry: Measure the placement on both sides. Are they equidistant from the center seam?
-
Inspect Stitch Quality: Do both sides have identical stitch formation, texture, and registration? Look for any puckering or pull that appears worse on one side.
-
Common Zone Check: Verify there is no bunching or needle strike in the center.
Analyze any flaws. If one side is misaligned, the issue is likely in the common zone setup or hooping. If stitch quality differs, the problem originates in the base digitizing’s balance.
Common Pitfalls and How to Avoid Them
-
Pitfall: Using a Standard File: Simply flipping a .DST in software results in reversed stitch sequences and potential thread trims that don’t sync, causing errors.
-
Solution: Always digitize from the start with mirroring as the end goal.
-
Pitfall: Ignoring the Common Zone: This can cause catastrophic needle breaks.
-
Solution: Always set and verify the gap in the BAi software before exporting.
-
Pitfall: Asymmetrical Hooping: Even a perfect file can be ruined if the cap is not hooped perfectly straight.
-
Solution: Meticulous hooping is part of the process. Use alignment guides on your frame.
Conclusion: Mastering Symmetry from File to Finish
Successfully learning how to Convert Logo for BAi Mirror Embroidery Machine merges technical precision with an understanding of the machine’s unique mechanics. It’s a process that demands attention from the first click in your vector program to the final stitch on the cap.
By following this workflow—preparing symmetrical artwork, digitizing one side with mirrored execution in mind, correctly configuring the file in the BAi system, and always validating with a test sew—you transform the BAi from a simple duplicator into a precision instrument. The result is not just two logos on a cap, but a perfectly balanced, professionally crafted emblem of symmetry that elevates the quality of the finished product. Embrace this specialized process, and you’ll unlock the true, efficient power of mirrored embroidery.


Leave a Reply